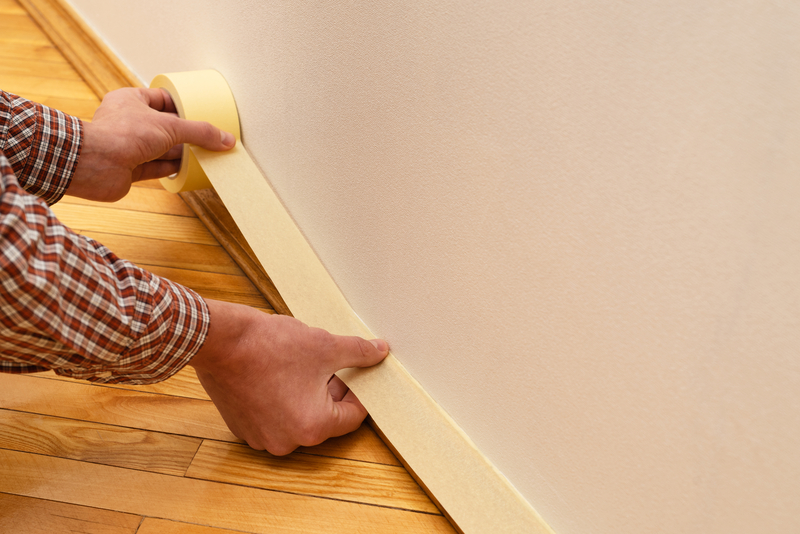
How to Properly Tape your Painting Project

While the concept is simple, applying tape to a room before painting can be time-consuming and challenging! Done properly, taping produces sharp lines, straight edges, protects surfaces, allows faster painting and results in fewer mistakes. Here is some advice for properly taping your painting project.
- Clean before applying tape: Tape won’t adhere to dusty, dirty surfaces. Use a damp cloth to clean the mouldings and walls. If the surface is greasy, you’ll need soap and water or TSP (available at home centers and paint stores). Let dry completely before taping.
- Use painter’s tape: Apply multi-surface painter’s tape. It has medium strength adhesion and can be used on trim, baseboards, walls and glass. It leaves no sticky residue, creates precise lines and won’t pucker when painted over. If taping a textured surface (brick, stucco, rock), look for painter’s tape designed for rough and/or hard to stick surfaces. Use ultra-thin painter’s tape to create sharp lines for designs. There’s even a specialty painter’s tape for use on wood, metal and wallpaper.
- Apply quickly and precisely: Stick a few inches of tape to the surface and unroll 6 more inches. Hold the roll tight to the surface and stick the section down using a flexible putty knife held at a slight angle. To stop paint from bleeding and prevent the tape from peeling off prematurely, make sure you have a good bond. Be careful not to stretch the tape. Overlap each piece to ensure no gaps. Keep the tape as straight as possible.
- Cover all surfaces you wish to protect: Tape the ceiling, floor, trim, windows, door frames, tile, electrical boxes, door handles, cabinets, furniture, fixtures and adjoining walls.
- Remove tape: To prevent the tape from sticking, chipping the paint or leaving residue, remove the tape while the paint is still wet. Gently pull at a 45-degree angle. Work slowly. If the paint has dried, score the edge of the tape with a putty knife before you pull it off.
- Remove any residue: Sometimes even quality tape leaves behind a sticky residue. Remove this with soap, water and a lint-free cloth. If this is not successful, use a citrus-based cleanser. Apply to a small area and let sit for a few minutes before wiping it away.
Other tips:
- A painter’s tape applicator (available at home centers and paint stores) will speed up the job and increase precision. Roll along the moulding, wall or ceiling to apply tape. Use the built-in cutter to slice tape at the end of the run.
- To tape a corner, run the first piece of tape up the wall. Press the tape into the corner with a putty knife. Cut along the crease with a sharp utility knife and remove the cutoff piece. Press down the edge of the tape to make sure it’s sealed.
- When masking horizontal surfaces, don’t fold the excess tape down onto the trim. Leave the excess tape sticking out to catch any paint splatter.
- At internal angles (where floor trim meets in corners, the corners of ceilings) cut the edge of the tape on a 45-degree angle at each corner allowing the edges to come together without overlapping onto the wall.
- With a few tips and a little practice, you will soon master the art of properly taping a painting project! You’ll create sharp lines, straight edges and make fewer mistakes.
Looking for advice on a painting project? Call Calgary’s independent paint and blinds store West Hillhurst Paint + Design at (403) 270-9696 or email at [email protected] Our knowledgeable professional design associates provide high-quality paint, a wide selection of blinds and advice for home projects. We offer excellent service and a variety of products to match any budget. Call for a consultation today!
MORE INFORMATION
TERMS & CONDITIONS
PRIVACY POLICY
PLEASE NOTE
On-screen and printer colour representations may vary from actual paint colours
COPYRIGHT
© 2020 Benjamin Moore & Co.
All rights reserved


