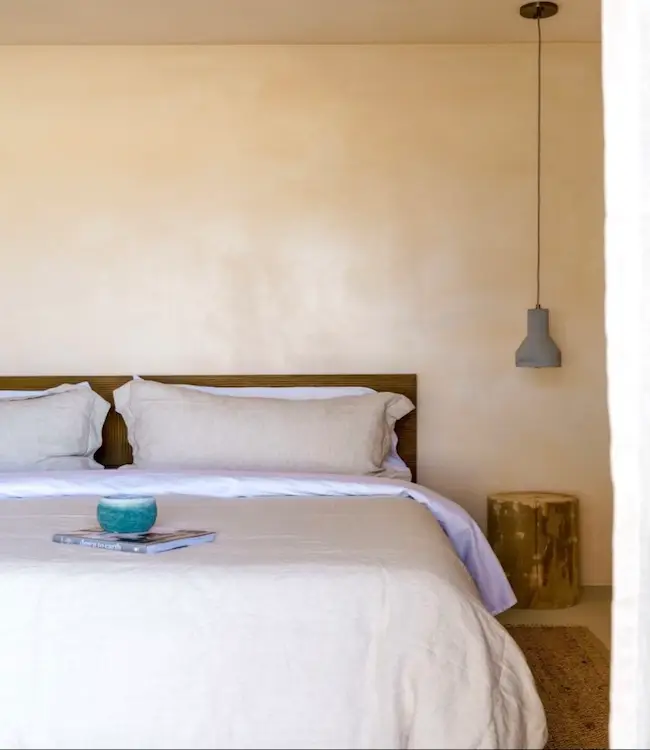
Intro to Lime Wash
Lime wash is fun for anyone! Check our guide below for more information on materials, tools, and don’t hesitate to reach out to us with any questions.
Getting started
- Plan for your Lime Wash project to take 3-6 days
- For large walls, at least a 120mm / 5″ brush is recommended
- Flick your brush by running your fingers through it first to remove any loose bristles
- Dip the brush about 1 inch into the lime wash. You don’t want it dripping.
- Use loose, free strokes and not too much pressure. There are lots of ways to apply lime wash. Cross hatch is the most common, but please ask for other suggestions.
- The first coat of lime wash won’t be a reflection of the final product. It may be blotchy, and the color won’t look correct. It takes at least 2 coats to see the full color.
Materials
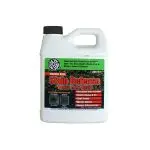
- Meoded Lime Wash Base Coat
- Meoded Lime Wash
- High-hiding primer (if you’re covering a dark color)
Tools
- Painter’s tape
- Drop cloth
- 2.5-3″ Angled sash brush
- 9.5″ Roller and sleeve
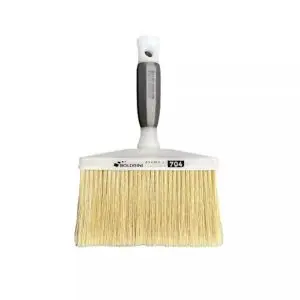
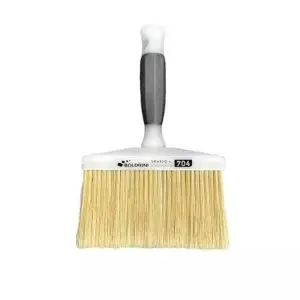
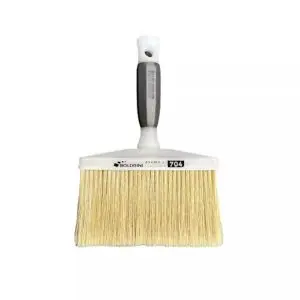
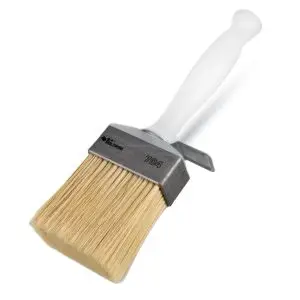
- 3″ to 7″ Lime Wash brush
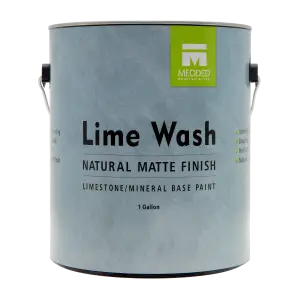
About Meoded Lime Wash
- Slaked limestone mineral coating
- Easy application for DIY or professionals
- Available in 80 pre-formulated colors -or- custom matches in Benjamin Moore and Sherwin Williams colors are available
- Interior and exterior use
- 1 gallon covers approximately 250 to 350 square feet
- Learn more about Meoded Paint & Plaster here
Shop Lime Wash
-
 $45.99 – $126.99Select options This product has multiple variants. The options may be chosen on the product page
 -
 $49.99 – $139.99Select options This product has multiple variants. The options may be chosen on the product page
Painting Meoded Lime Wash in our store
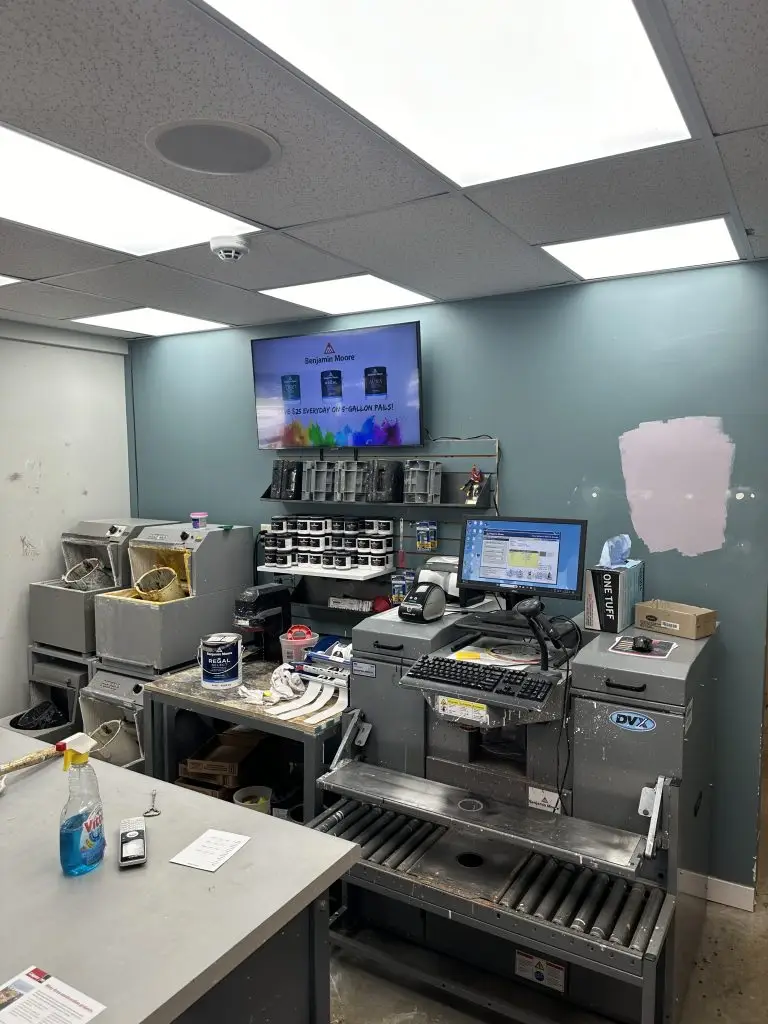
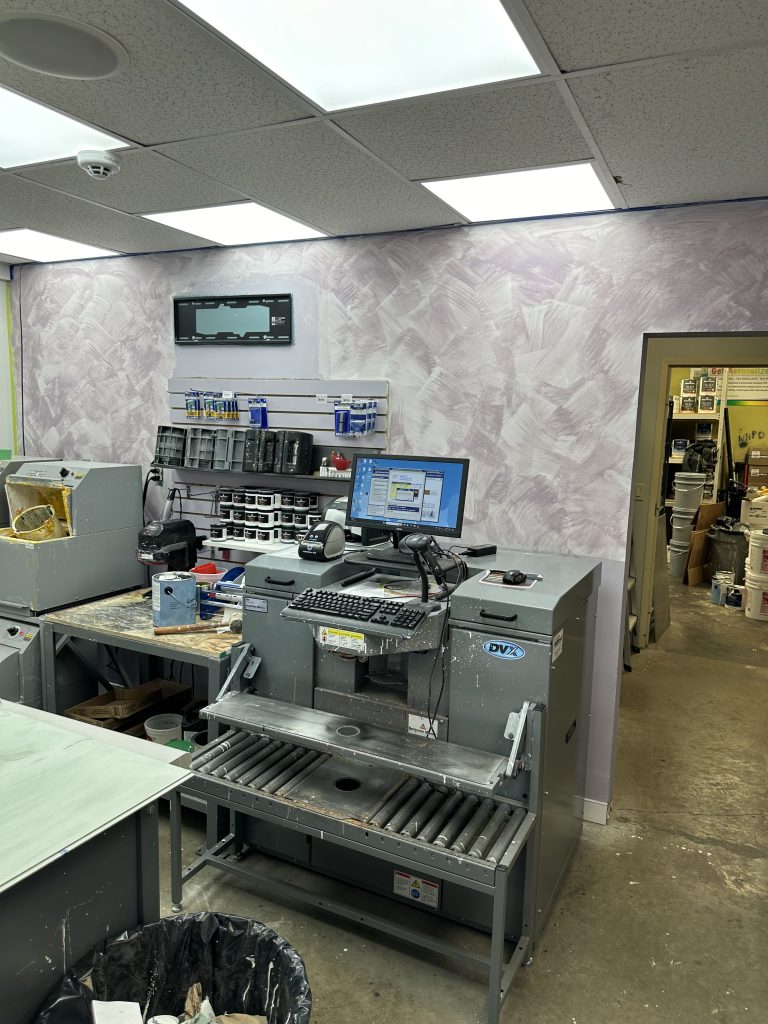
We started with a test color to see how we liked it and patched the wall behind the tinter. Lime Wash *will* cover some imperfections, and you might be fine with that, but you will still see holes and gouges in the wall. Also, we can match any Benjamin Moore color! This is African Violet.
*special note to matching Benjamin Moore colors – we can get the tone and color to whatever you want, but the actual color of the Lime Wash is much lighter than the actual color. If you want an exact color, we have a fan deck with 80 colors in it that are true to the color.
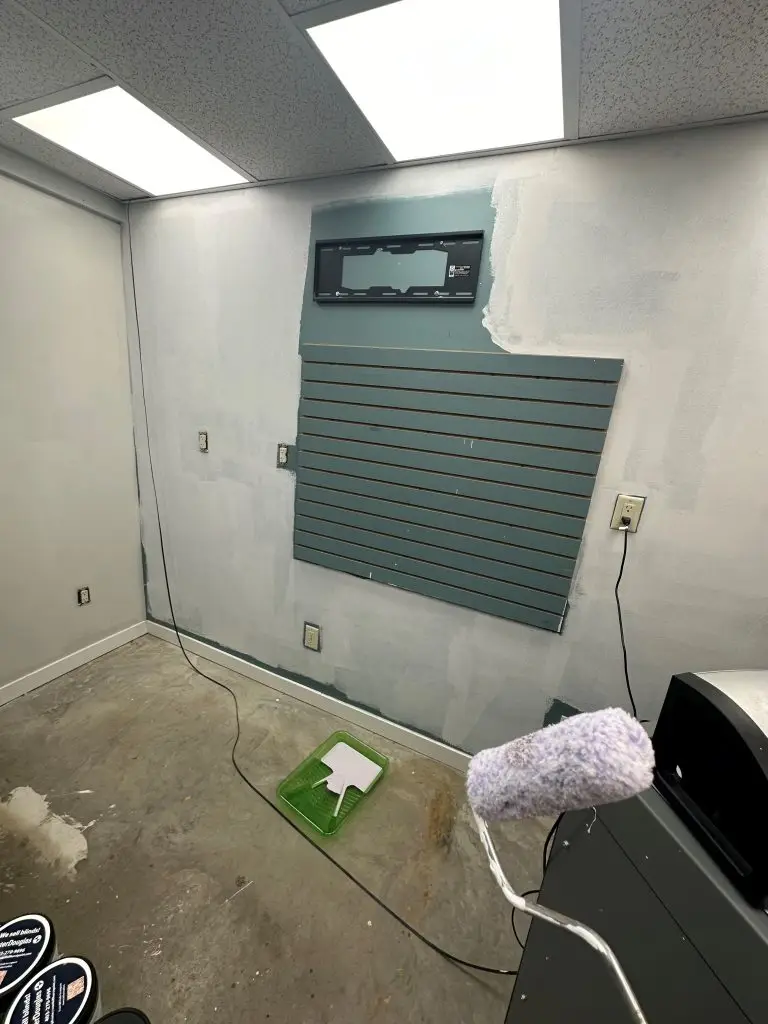
Next step: Lime Wash Base Coat (2 coats!). We get asked if this is necessary, and yes, it is. It activates the lime in the Lime Wash and helps you get the textured look.
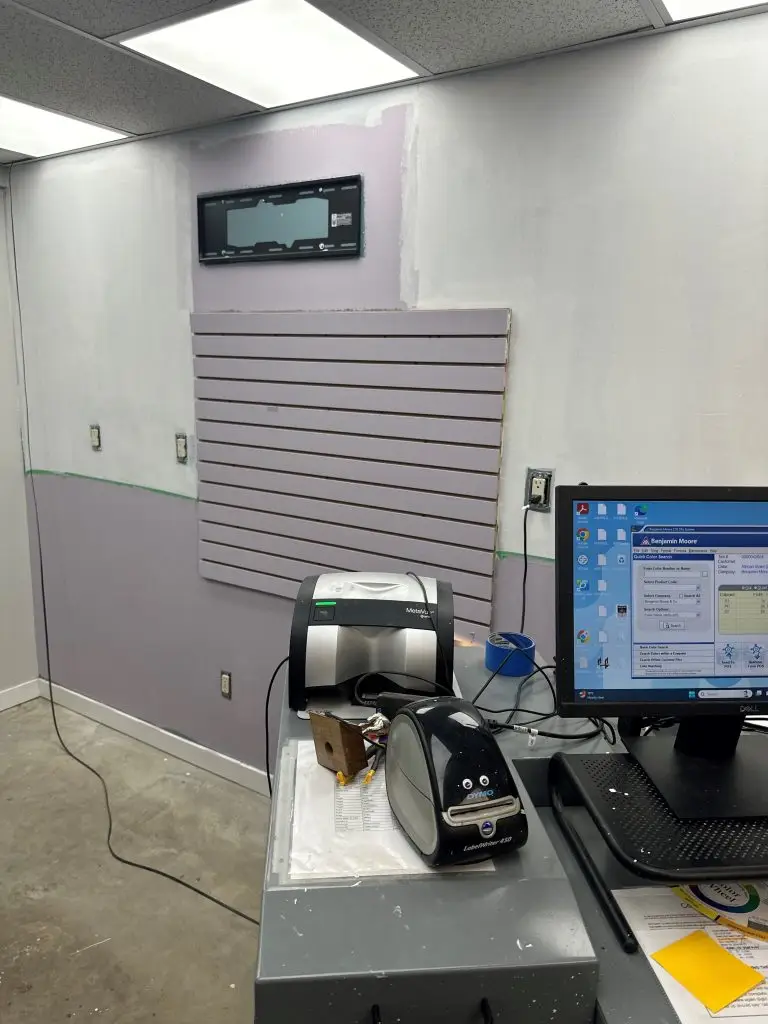
We did the area behind the shakers and tinter, as well as the slat wall, with just normal Regal eggshell, partially because we tend to splash these areas with tint and they tend to get beat up. Such is life at at paint store.
Get your lime wash on! There’s lots of ways to do this, we just went with the most conventional cross hatch application method.
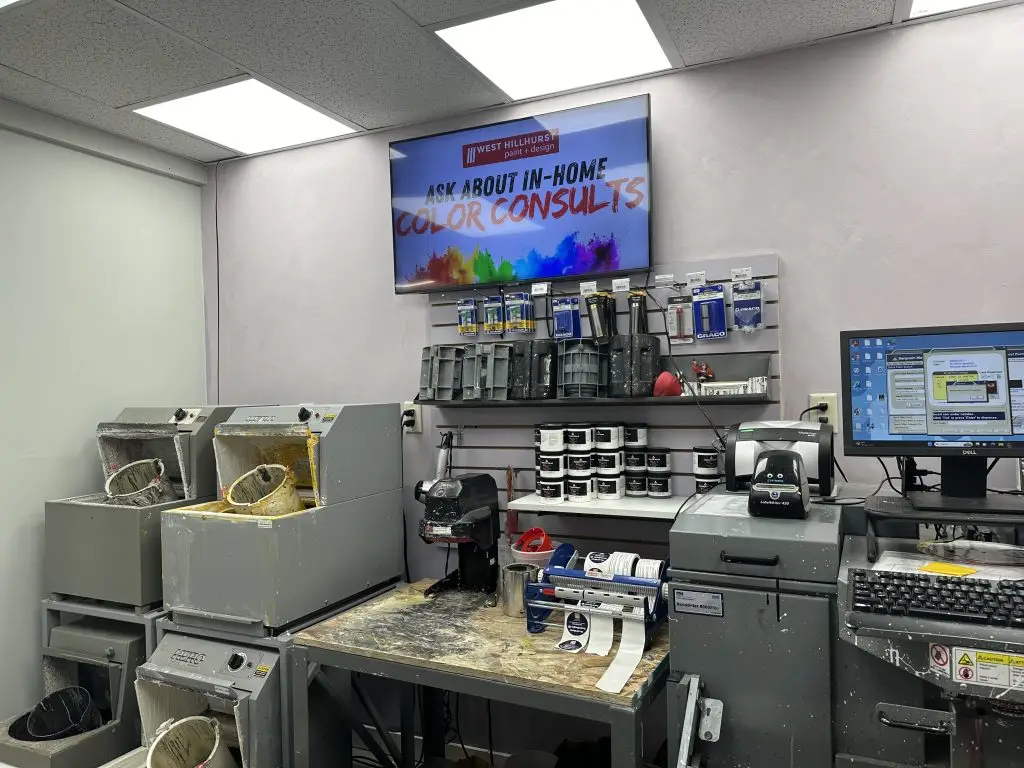
After 2 coats, here’s what came out! We added a coat of the Natural Look sealer (obviously you can’t see it..) and called it a day. It took us about 3 days total, but not full time. We did this in the mornings before the store opened, and each day had to move everything back to we could tint paint for our customers.
FAQ
Adding Lime Wash to your walls is fun and easy! It can take a bit longer than say, painting with a normal latex paint, and the finished look is definitely worth the wait.
We always recommend using a natural bristle box brush. It holds more lime wash than a normal brush, and allows you to get a better texture on the wall.
No! You want to use a box brush to apply the lime wash. Lime wash has the consistency of a heavy cream, and doesn’t contain the same surfactants or wetting agents that a normal latext paint does, so it won’t go on the wall properly with a roller sleeve.
There are videos floating around where you can get two gallons of similar-colored paint and get the lime wash effect. While it’s possible, it wouldn’t give you the same textured effect that you typically get with lime wash, and the colors are likely to be quite distinct, whereas using actual lime wash gives you a totally different look.
Generally 2-3 coats.


